GE Appliance Repair


GE appliances have been trusted by homeowners for generations thanks to their durability, innovation, and reliable everyday performance. From modern kitchen appliances to advanced laundry systems, GE products are designed to make household tasks easier and more efficient.
When an appliance stops working properly, timely professional service can help prevent further damage and costly replacements.
Our GE appliance repair specialists provide accurate diagnostics, expert workmanship, and dependable repair solutions for all major GE appliances.
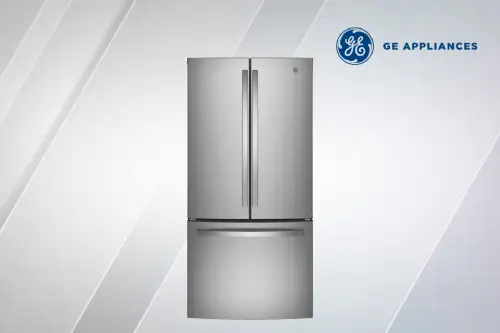
Your refrigerator works continuously to keep food fresh and safe, making reliable operation essential. Our GE fridge repair technicians are experienced in diagnosing cooling failures, compressor problems, thermostat issues, fan motor malfunctions, and electronic control errors. We provide fast and effective repairs to restore proper temperature control and appliance efficiency.
Common fridge problems:
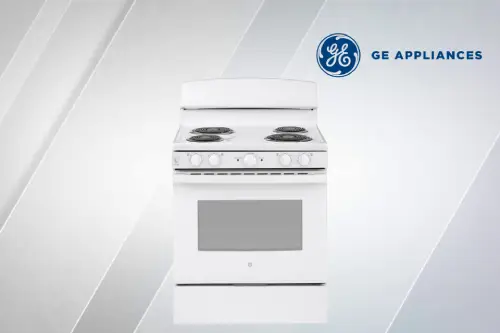
A malfunctioning stove can interfere with meal preparation and daily routines. Our GE stove repair experts service electric, gas, and induction cooking appliances, resolving burner failures, ignition problems, temperature inconsistencies, and control panel malfunctions. We focus on restoring safe, dependable cooking performance.
Common stove problems:
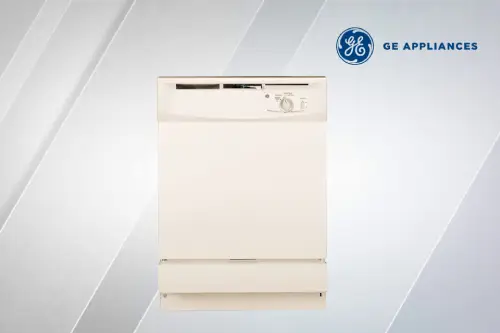
A dishwasher should simplify kitchen cleanup, but performance issues can quickly create frustration. Our GE dishwasher repair service addresses drainage failures, water leaks, poor cleaning results, faulty pumps, and electronic control problems. We diagnose issues accurately and provide long-lasting repair solutions.
Common dishwasher problems:
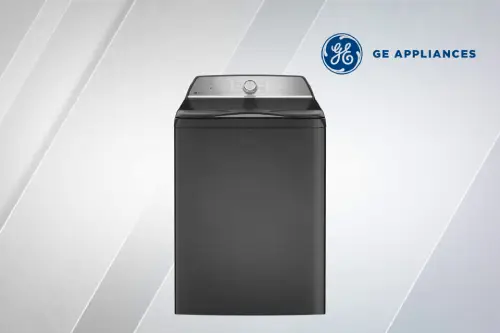
A washing machine that isn't working properly can disrupt your entire household schedule. Our GE washer repair specialists handle spinning failures, drainage issues, water leaks, excessive vibration, door lock malfunctions, and control board problems. We work efficiently to restore smooth and reliable washing performance.
Common washer problems:
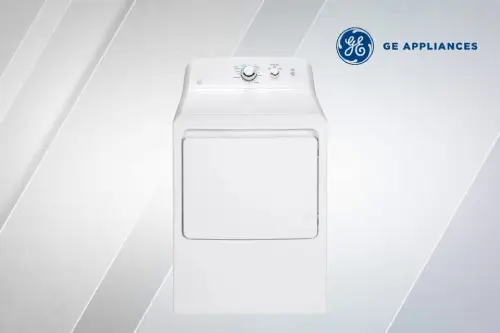
An unreliable dryer can increase energy usage and leave clothes damp after a cycle. Our GE dryer repair technicians diagnose and repair heating system failures, drum issues, airflow restrictions, sensor malfunctions, and electrical problems. We help restore efficient drying performance and appliance reliability.
Common dryer problems:
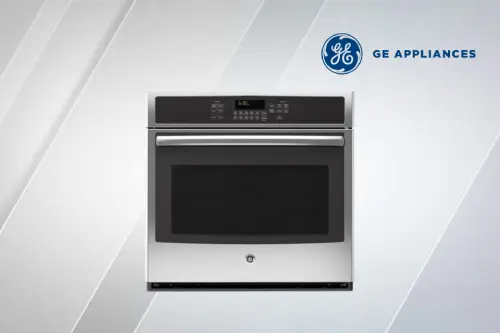
Whether you're preparing family dinners or holiday meals, a dependable oven is essential. Our GE oven repair professionals diagnose thermostat failures, damaged heating elements, temperature inaccuracies, control board issues, and door seal problems. We ensure your oven operates safely and delivers consistent cooking results.
Common oven problems:
Regular maintenance is essential for maximizing the lifespan and efficiency of your GE appliances. Our GE appliance maintenance and repair services include comprehensive inspections, performance evaluations, safety checks, component cleaning, and preventive maintenance.
By identifying wear and potential issues before they lead to major failures, we help homeowners avoid unexpected breakdowns and costly repairs.
Whether you require routine maintenance or urgent repair service, our experienced technicians are ready to provide reliable GE appliance care and support.
| Failure Code | Fault Code Description | Solution |
| F1 | Oven temperature sensor error | Check the temperature sensor for continuity and inspect the wiring harness. Replace the sensor if it is defective. |
| PF | Refrigerator power failure | Reset the appliance by disconnecting power for several minutes. Verify the outlet, circuit breaker, and power cord connections. |
| H20 | Dishwasher water supply error | Ensure the water supply valve is open and inspect the inlet hose for kinks or blockages. Replace the water inlet valve if necessary. |
| F20 | Washing machine water inlet fault | Inspect the water inlet valve for clogs or failure. Verify that water is reaching the appliance and replace the valve if needed. |
| E3 | Dryer overheating error | Clean the lint filter and exhaust vent. Check the thermostat and thermal fuse, replacing faulty components as required. |
| LE | Dishwasher leak detected | Inspect door seals, hoses, and internal connections for leaks. Repair or replace damaged components. |
| Fd | Refrigerator defrost system fault | Check the defrost heater, thermostat, and timer. Replace any failed components to restore normal operation. |
| E4 | Dishwasher heater error | Test the heating element for continuity and inspect associated wiring. Replace the heating element if defective. |
| IE | Washing machine water supply issue | Ensure water faucets are fully open, clean inlet filters, and inspect the water inlet valve for blockages or failure. |
| OE | Washing machine drainage fault | Inspect and clean the drain hose and pump filter. Check the drain pump for obstructions or damage and replace if needed. |
| Failure Code | Fault Code Description | Solution |
| F2 | Communication failure between UI and control board | Inspect wiring between the user interface and electronic control board. Replace the UI control, wiring harness, or control board if necessary. |
| F3 | Inverter control board configuration error | Check inverter board wiring and connections. Reconnect loose wires and replace the inverter board if the fault persists. |
| F5 | Inverter control board communication failure | Inspect wiring between the inverter and main control board. Replace damaged wiring, the inverter board, or the electronic control board as needed. |
| F16 | High water temperature detected | Check the temperature sensor wiring and resistance. Replace the flood switch assembly if the sensor is defective. |
| F33 | Door switch failure | Inspect door switch wiring and connections. Replace the door switch if wiring is intact. |
| F34 | Water leak detected | Inspect hoses, pumps, and internal components for leaks. Tighten loose connections and replace leaking parts. |
| F35 | Diverter feedback error | Check diverter wiring and connections. Replace the diverter assembly if wiring is functioning correctly. |
| F48 / F49 / F52 | Turbidity sensor failure | Inspect sensor wiring and replace the turbidity sensor if no wiring issues are found. |
| F50 / F51 | Temperature sensor failure | Test the temperature sensor resistance and inspect wiring. Replace the flood switch assembly if the sensor has failed. |
| F64 | Inverter control board error | Inspect inverter board wiring and replace the inverter control board if necessary. |
| F65 | No water detected by inverter board | Verify the water supply valve is open and inspect the water inlet valve. Check inverter board wiring and replace faulty components. |
| F80 / F96 | No water detected by turbidity sensor | Inspect the water supply system and turbidity sensor wiring. Replace the sensor if required. |
| F97 | Heating element failure | Inspect heater wiring and test heating element resistance. Replace the element if defective. |
| F98 | Drain system failure | Check the drain path for blockages. Inspect drain pump wiring and replace the pump if necessary. |
| F99 | Minimum wash temperature not reached | Inspect the heating element, temperature sensor, and related wiring. Replace defective components as needed. |
| F112 | Stuck keypad button | Press and release each button to identify the stuck key. Replace the user interface control if the issue remains. |
| F128 | Low rinse aid level | Refill the rinse aid dispenser. |
| F144 | Inverter control board failure | Disconnect power and replace the inverter control board. |
| F145 | Inverter board not receiving AC power | Inspect wiring harness continuity and replace damaged wiring or the inverter control board if necessary. |
| F146 | Circulation pump failure | Inspect circulation pump wiring and replace the pump if no wiring faults are found. |
| F147 | Drain pump failure | Check drain pump wiring and replace the drain pump if necessary. |
| F148 | Thermal cut-off fuse failure | Test wire harness continuity and replace the affected harness and pump assembly if the fuse is blown. |
| F149 | Inverter board wire harness failure | Inspect the inverter power harness and replace the harness or inverter control board as needed. |
